How to Fix a Radiator Cold at the Bottom 2026
Quick Answer: A radiator that is cold at the bottom is almost always caused by magnetite sludge — a thick black deposit of rust, dirt, and debris that settles at the base of the radiator and blocks hot water circulation. The fix depends on severity: a single cold radiator can be manually flushed as a DIY job, while multiple cold radiators require a professional power flush (£450–£750) or chemical flush (£300–£700). Prevention through a magnetic filter, central heating inhibitor, and scale reducer stops the problem from recurring.
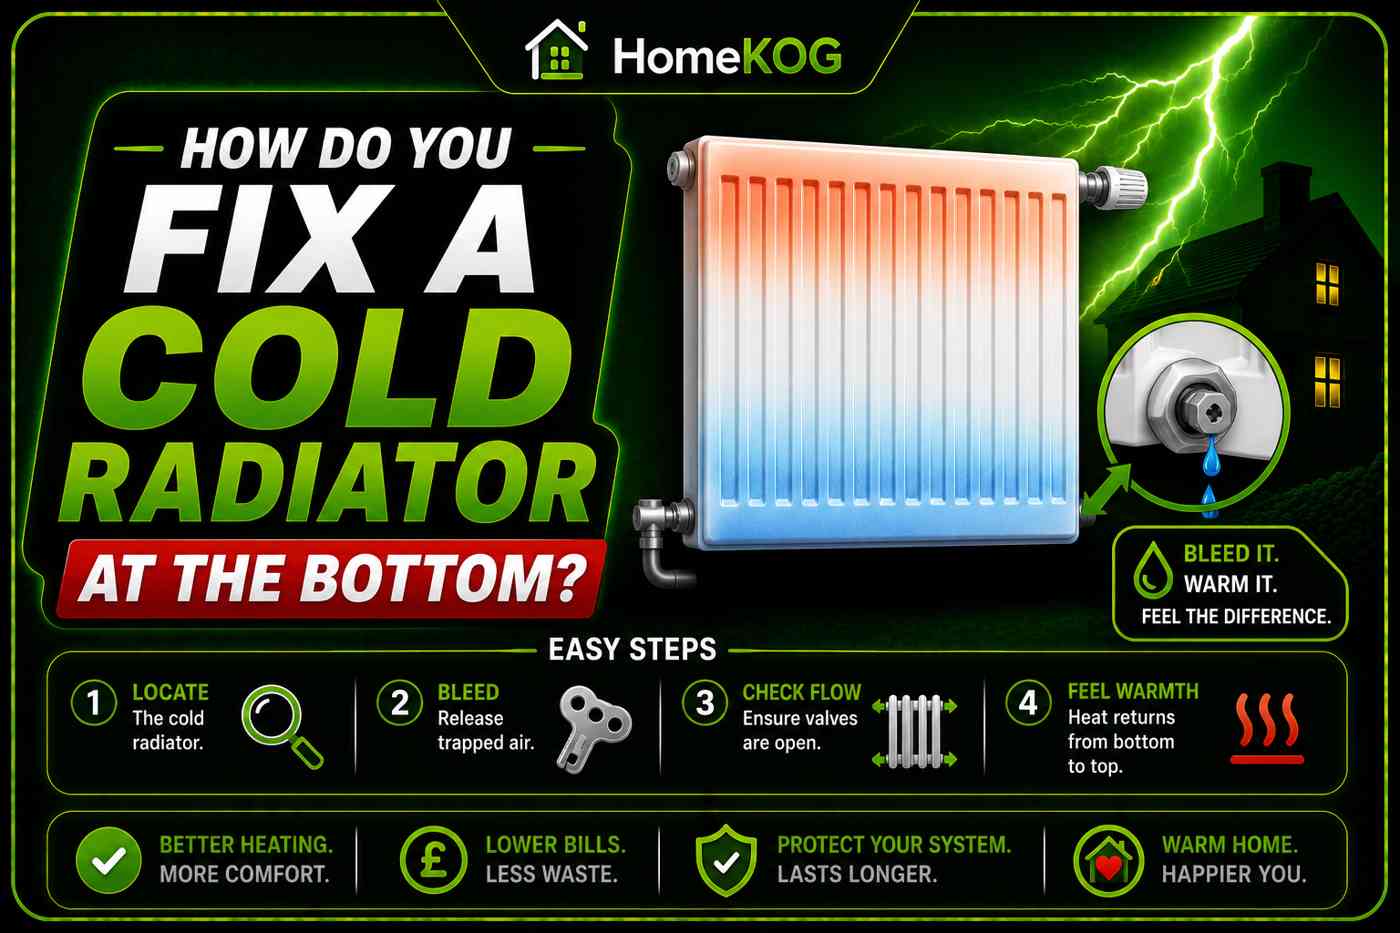
A radiator cold at the top with heat concentrated lower down indicates trapped air and needs bleeding. A radiator cold at the bottom while the top is warm indicates sludge — a fundamentally different problem with a different solution. Turning up the thermostat to compensate for a sludge-blocked radiator wastes energy and increases bills without resolving the cause. This guide explains every method for clearing sludge from a cold-bottomed radiator and the preventative measures that stop it building up again.
What Causes a Radiator to Be Cold at the Bottom?
The cause is almost always magnetite sludge — a thick black deposit that accumulates inside radiators over time. Magnetite forms when iron oxide (rust) from the steel radiator panels combines with water and other debris circulating in the heating system. Being denser than water, it settles at the lowest point of the radiator — the base — where it forms a layer that blocks the flow of hot water into the bottom section of the panel.
The denser and deeper the sludge layer, the greater the proportion of the radiator that remains cold, and the more the remaining heated area struggles to compensate. Over 60% of UK households are in hard water areas where limescale compounds the problem — mineral deposits from the supply water accelerate sludge formation and further restrict internal water flow. A system without adequate inhibitor concentration or magnetic filtration will develop cold-bottomed radiators progressively, usually becoming noticeable within five to ten years of installation without maintenance.

Remedial Fixes for a Cold Radiator at the Bottom
Option 1 — Manual Flush (DIY, Single Radiator)
A manual flush removes sludge from a single radiator by physically disconnecting it, taking it outside, and flushing it through with a garden hose until the water runs clean. It is the only cold radiator fix that can be completed as a DIY job, and it is only practical for one radiator at a time. If multiple radiators are cold at the bottom, a professional power flush or chemical flush is more efficient.
A manual flush produces a significant amount of dirty water and requires some physical effort — a full radiator is heavy and the operation is messy. Prepare accordingly before starting.
- Lay old towels on the floor around the radiator and have a bucket ready.
- Turn the thermostatic radiator valve (TRV) — the numbered knob at the base of the radiator — fully down to zero. If no TRV is fitted, both valves will need to be closed.
- At the opposite end of the radiator, close the lockshield valve by removing the plastic cap and turning it fully clockwise with a spanner.
- Loosen the radiator nuts slightly, then use a bleed key to open the bleed valves at the top of the radiator to allow water to drain into the bucket. Be prepared for a substantial volume of water.
- Once drained, fully undo the valve connections and lift the radiator from its wall brackets. A second person is helpful at this stage.
- Carry the radiator outside and insert a garden hose into one of the valve openings. Run water through the radiator in both directions — inlet to outlet and reversed — until the water runs completely clear and no black or brown sludge remains.
- Reattach the radiator to the wall and reconnect all valve fittings securely.
- Open the bleed valve slightly and allow the radiator to refill. Close the bleed valve as soon as water — rather than air — starts to emerge.
- Open both the TRV and lockshield valve to restore normal flow. On a pressurised system, check the boiler pressure and repressurise to 1.5 bar via the filling loop if needed. Conventional feed systems will repressurise automatically.
After completing the manual flush, adding a central heating inhibitor dose protects the cleaned radiator from rapid sludge reaccumulation.
Option 2 — Power Flush (Professional, Whole System)
A power flush clears sludge from the entire central heating system rather than individual radiators. A Gas Safe engineer connects a specialised pumping station to the system and forces water through the pipework, radiators, and heat exchanger at high velocity in both directions, dislodging and flushing away accumulated deposits. Chemical cleaning agents are added for stubborn build-up, followed by a neutraliser to restore the correct pH balance, and finally an inhibitor to protect the cleaned system.
A power flush is the most thorough cleaning method available and is the appropriate choice when multiple radiators are cold at the bottom, when the heating has become significantly less efficient over recent years, or when a new boiler is being installed into an existing system with known contamination.
| Property Size | Typical Power Flush Cost | Typical Duration |
|---|---|---|
| 1–2 bedroom flat or house | £450 – £550 | 4–6 hours |
| 3 bedroom house | £500 – £650 | 6–8 hours |
| 4–5 bedroom house | £600 – £750 | Up to 2 days |
Power flushing requires specialist equipment and should always be carried out by a qualified heating engineer. It is not suitable for systems older than 15 years, pipework narrower than 15mm, or where radiators are already visibly corroding — the pressure involved can cause leaks at pre-existing weak points.
Option 3 — Chemical Flush (Professional, Whole System)
A chemical flush — sometimes called a hot flush — uses cleaning chemicals circulated through the system to break down limescale and sludge without a high-pressure pump. It is less intensive than a power flush and is appropriate for systems with moderate contamination rather than severe blockage, or as a maintenance measure between power flushes.
Most new heating system installations benefit from an initial chemical flush, as debris from installation — flux residue, pipe swarf, and manufacturing deposits — circulates during the first weeks of operation and accelerates early sludge formation. A chemical flush during commissioning removes this debris before it contributes to the sludge layer in radiators.
| Scope | Typical Chemical Flush Cost | Typical Duration |
|---|---|---|
| Single radiator | £100 – £200 | 1–2 hours |
| Whole system | £300 – £700 | Half to full day |
Preventative Measures
Remedial flushing resolves cold-bottomed radiators once they have developed. Preventative measures slow or stop sludge accumulation from developing in the first place — and are always more cost-effective than repeated flushing.
Magnetic Filter
A magnetic filter is fitted to the return pipework close to the boiler and uses a powerful magnet to capture iron oxide particles from the circulating water before they can settle in radiators as sludge. Rust particles — the primary component of magnetite sludge — are ferromagnetic and are attracted to the filter housing as water passes through it. The captured sludge is held in the filter body and cleaned out by the engineer at each annual service, removing it from the system permanently.
A magnetic filter is the single most effective ongoing preventative measure for sludge accumulation. Many boiler manufacturers extend warranty terms on installations that include a magnetic filter, recognising the protection it provides to the heat exchanger. A magnetic filter and installation costs approximately £200 to £250 and should ideally be fitted when a new boiler is installed. It can also be retrofitted to an existing system by a heating engineer.
Central Heating Inhibitor
A central heating inhibitor is a chemical liquid added to the system water that slows internal corrosion and prevents the formation of sludge and limescale deposits. It works by creating a protective layer on internal metal surfaces that reduces the rate at which iron oxide and limescale form. Without inhibitor, even a clean system will begin generating sludge within a few years through normal corrosion of the steel radiator panels.
Inhibitor costs approximately £15 per dose and lasts approximately one year before the concentration diminishes and requires topping up. It is checked and replenished at each annual boiler service. Some boiler manufacturers specify that correct inhibitor levels must be maintained as a warranty condition. An inhibitor test kit is available for homeowners who want to check the concentration between services.
Inhibitor can be added by a heating engineer or by the homeowner following the product instructions — it is typically introduced into the system through a radiator bleed valve or the filling loop.
Scale Reducer (Hard Water Areas)
In the 60% of UK households located in hard water areas, limescale build-up accelerates sludge formation significantly. A scale reducer fitted to the incoming cold water supply pipe creates a small electrolytic current that releases trace amounts of iron into the water, disrupting the mineral crystallisation process that forms limescale. It prevents new limescale from forming throughout the heating system and breaks down existing deposits gradually over time.
A scale reducer does not remove existing sludge — it prevents and reduces the limescale component of sludge formation going forward. A single unit costs £35 to £70, lasts up to ten years without requiring servicing, and is particularly valuable in areas with notably hard supply water such as London, the South East, and the East of England.
FAQ
Why is my radiator cold at the bottom but warm at the top?
A radiator cold at the bottom with heat concentrated at the top indicates sludge blocking water flow into the lower section of the radiator. This is the opposite of the cold-top symptom caused by trapped air. Bleeding the radiator will not help — the solution is a manual flush of the individual radiator or a whole-system power flush or chemical flush depending on how many radiators are affected.
Can I fix a cold radiator at the bottom myself?
Yes, if only one radiator is affected, a manual flush is achievable as a DIY task with basic tools, old towels, a bucket, and a garden hose. The process involves draining the radiator, removing it from the wall, and flushing it through with a hose until water runs clean. It is messy and physically demanding but does not require specialist equipment. Multiple cold-bottomed radiators require a professional power flush or chemical flush.
How much does it cost to fix a cold radiator at the bottom?
A manual flush carried out as DIY costs nothing beyond the time involved. A professional power flush costs £450 to £750 for a typical property. A chemical flush costs £300 to £700. The preventative measures that stop cold-bottomed radiators from recurring — a magnetic filter at £200 to £250 installed, and a central heating inhibitor at approximately £15 per year — represent significantly better long-term value than repeated flushing.
How do I know if my radiator needs a flush rather than bleeding?
Feel the radiator with the heating running. Cold at the top with warmth lower down — bleed the radiator to release trapped air. Cold at the bottom with warmth at the top — sludge is present and a flush is needed. Cold throughout despite the heating running — check boiler pressure first; if pressure is correct, sludge or a pump fault is likely. A manual bleed of a sludge-blocked radiator will produce clean or slightly discoloured water rather than the trapped air hiss that confirms an air problem.
Does a magnetic filter replace the need for a power flush?
No — a magnetic filter prevents future sludge accumulation but does not remove existing sludge from a system that already has cold-bottomed radiators. If the system is already contaminated, a power flush or chemical flush is needed to clear the existing deposits first. The magnetic filter is then installed after flushing to prevent the problem from returning.
Conclusion
A radiator cold at the bottom is a reliable sign that sludge has built up and is blocking water flow into the lower section of the panel. It will not resolve itself, and turning up the thermostat to compensate increases energy bills without addressing the cause. For a single affected radiator, a manual flush completed as a DIY task is a practical and cost-free solution. For multiple cold-bottomed radiators, a professional power flush or chemical flush is the appropriate route.
The most cost-effective long-term approach is to combine a one-time flush with the three preventative measures that slow sludge formation going forward — a magnetic filter on the return pipework, an annual inhibitor dose, and a scale reducer for hard water properties. A heating system maintained with these measures consistently produces less sludge, heats more efficiently, and requires significantly less intervention over its operational lifespan than a system left without any protection.